I have a stone and want to make a ring
Share
Before diving into the craft of making a ring, it's essential to gather the right tools. The right tools not only facilitate the creation process but also ensure precision and safety. Here's a list of the basic tools you'll need:
- Jeweler's Saw: Vital for cutting metal into the desired shape. A high-quality jeweler’s saw can make intricate cuts and is essential for creating detailed designs.
- Pliers: Used for bending and shaping wire. Different types of pliers, such as round-nose or flat-nose, can aid in shaping metal and ensuring a secure setting for your gemstone.
- Files and Sandpaper: Essential for smoothing edges and surfaces. Proper finishing of the metal prevents snags and enhances the aesthetic appeal of the ring.
- Soldering Kit: Required for joining pieces of metal together. Mastering the soldering process is key to achieving seamless joins and strong bonds.
- Ring Mandrel: A tapered cylinder that helps shape the ring. It ensures that the ring is perfectly round and matches the desired size.
- Calipers: For precise measurements. Precision is crucial in jewelry making, and calipers help ensure all dimensions are accurate.
- Bench Pin: Provides support while you work on your piece. It stabilizes your work and allows for better control during intricate tasks.
These tools are the foundation of your journey into jewelry making. Investing in good quality tools will make your crafting experience smoother and more enjoyable. As you become more experienced, you might find other specialized tools that can enhance your craftsmanship.
Selecting and Preparing Your Gemstone
The heart of your ring is the stone, and choosing the right one is a crucial step. A well-chosen gemstone can elevate a simple design into a stunning piece of art. Consider the following when selecting your gemstone:
- Size and Shape: The size of the stone will influence the design of the ring. Larger stones may require sturdier settings, while smaller ones can be complemented by intricate metalwork.
- Color and Clarity: These aspects affect the stone's appearance and value. A stone’s hue, saturation, and clarity can dramatically alter the overall look of the ring and should be considered carefully.
- Hardness and Durability: This determines how well the stone will wear over time. Stones like diamonds and sapphires are known for their hardness and are ideal for everyday wear, while softer stones might require more care.
Once you have your stone, it's time to prepare it for setting. Clean the gemstone thoroughly, removing any dirt or oils that can affect the setting process. If it's a rough stone, you might need to shape it using a lapidary machine. However, as a beginner, starting with a cut and polished stone can simplify the process. Ensuring the stone is prepped correctly will make the setting process much smoother and enhance the final appearance of your ring.
Designing Your Ring
The design phase is where your creativity comes to life. This is your opportunity to let personal style and inspiration guide the creation process. Consider the following elements:
- Style: Do you want a simple band or something more elaborate? The style of the ring should reflect the wearer's personality and the occasion for which it is intended.
- Metal: Choose from silver, gold, or platinum, each offering different qualities and aesthetics. Each metal also has different working properties, so consider your comfort level with each when designing.
- Setting: Decide how the stone will be mounted. Popular settings include prong, bezel, and channel. Each setting offers different levels of protection and visibility for the gemstone.
Sketch your design on paper before transferring it to the metal. This helps visualize the final product and ensures all elements are well-proportioned. A detailed sketch can serve as a blueprint, guiding you through the crafting process and helping you troubleshoot potential design issues before they arise.
Crafting the Band
To create the band of your ring, follow these steps:
- Measure and Cut the Metal: Use a strip of metal and cut it to size using a jeweler's saw. The length should match the ring size plus the thickness of the metal. Accurate measurements are critical to ensure the ring fits comfortably.
- Shape the Metal: Wrap the metal around a ring mandrel and hammer it gently to form a round shape. This step requires patience and precision to achieve a perfectly rounded band.
- File and Sand: Smooth out any rough edges or surfaces using files and sandpaper. Taking the time to carefully finish the band ensures a professional look and feel.
This foundational step establishes the base of your ring, setting the stage for further embellishments. A well-crafted band can highlight the gemstone and enhance the overall design of the ring.
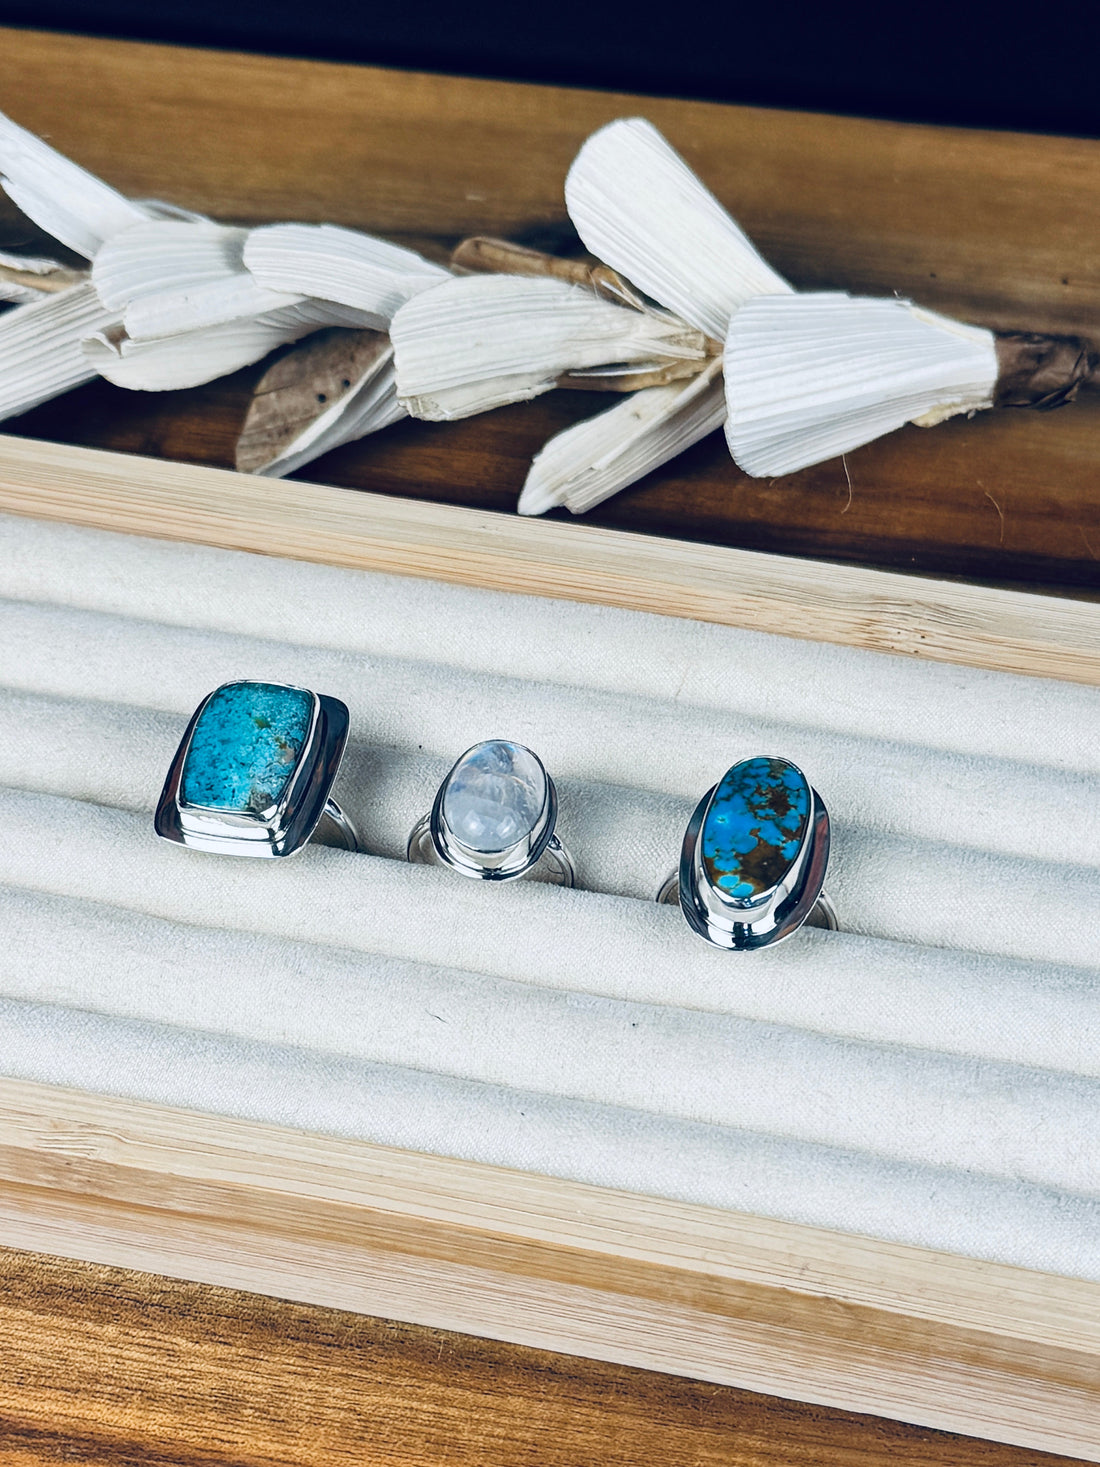
Setting the Gemstone
This is where the magic happens—setting your gemstone into the band. The setting not only secures the stone but also complements its beauty:
- Prong Setting: Ideal for showing off the stone, prongs hold the stone in place while allowing light to pass through. This setting is great for maximizing the stone's sparkle but requires careful alignment to ensure security.
- Bezel Setting: A metal rim encircles the stone, offering more protection and a sleek appearance. The bezel setting is perfect for active wearers as it secures the stone firmly.
- Channel Setting: Stones are set between two metal bars, perfect for smaller stones. This setting is often used for accent stones and requires precision to ensure each stone is held securely.
Carefully secure the gemstone in place using your chosen setting technique. It's crucial to ensure the stone is held firmly without being damaged. The setting process can make or break the overall appearance of the ring, so take your time to get it right.
Finishing Touches
With the gemstone securely set, it's time to add the finishing touches to your ring. These details can enhance the ring’s beauty and durability:
- Polish the Metal: Use polishing compounds to bring out the metal's shine. A high polish can enhance the metal's appearance and make the ring look more professional.
- Inspect for Imperfections: Check for any rough spots or loose settings and make necessary adjustments. Attention to detail at this stage ensures the longevity and safety of the ring.
- Clean the Ring: Use a jewelry cleaning solution to give your ring a final polish. Proper cleaning removes any residues from the crafting process and brings out the full brilliance of the gemstone.
Tips for Success
- Practice Patience: Jewelry making is an art that requires patience and precision. Take your time and enjoy the process. Rushing through the steps can lead to mistakes that are hard to fix.
- Safety First: Always wear protective gear, such as goggles and gloves, especially when using tools like soldering equipment. Ensuring your safety allows you to focus on the craftsmanship without worry.
- Seek Feedback: Share your work with fellow artisans or mentors to gain insights and improve your skills. Constructive criticism can be invaluable in honing your craft and achieving professional results.
Conclusion
Creating a ring from a cherished stone is an enriching endeavor that combines creativity and skill. As you practice and refine your technique, you'll gain confidence and develop your unique style. Remember, every piece you create is a step forward in your journey as a jewelry artisan. Embrace the process, and soon enough, you'll have a stunning gemstone ring that reflects your dedication and passion for the craft.
By following these guidelines, you're well on your way to crafting beautiful, personalized rings that tell a story. Each piece you create will not only represent your growing skills but also hold a special place in your collection, serving as a testament to your artistic journey. Happy crafting!