Essential Tools for DIY Ring Making
Share
Creating your own jewelry, especially rings, can be a deeply rewarding experience. Whether you're just starting out as a novice jewelry artisan or you’ve been dabbling for a while, understanding the essential tools for DIY ring making is crucial. In this guide, I'll walk you through the must-have tools for making stunning rings, focusing on working with silver, and helping you gain the confidence needed to create professional-quality pieces.
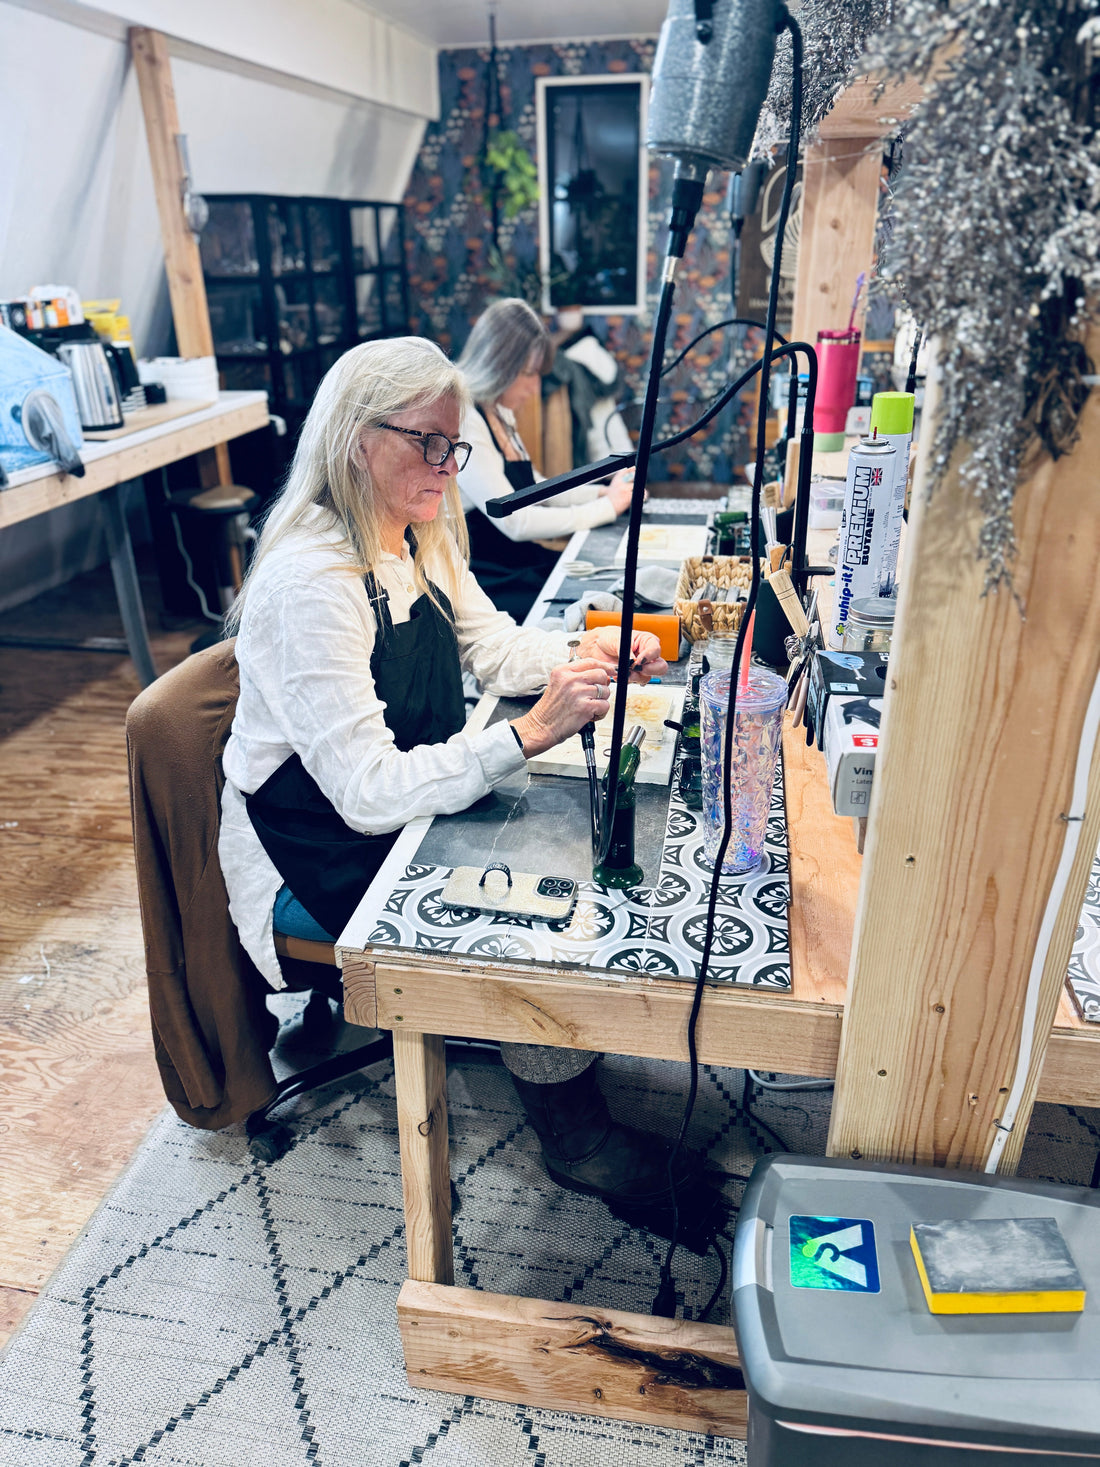
Setting Up Your Workshop
Before we dive into the tools, it's important to set up a comfortable and organized workspace. A clean, well-lit area with a sturdy workbench is ideal. You want a space where you can leave your tools and projects out without them being disturbed. Having a dedicated area for your jewelry-making endeavors helps keep you focused and organized.
Essential Tools for Ring Making
When it comes to making rings, especially with silver, you'll need a specific set of tools. Here's a breakdown of the essentials:
1. Jeweler’s Saw
The jeweler's saw is an indispensable tool for cutting metal sheets into the desired shape and size. It allows for precision and is perfect for cutting intricate designs. Ensure you have a good selection of saw blades, as they can break easily.
2. Files
Files are used to smooth and shape the metal after cutting. A variety of files, including flat, half-round, and needle files, will help you achieve the desired finish on your ring. They are crucial for removing burrs and refining the shape.
3. Ring Mandrel and Mallet
A ring mandrel is a tapered tool that helps shape and size your ring. It's essential for ensuring your ring is perfectly round. A rawhide or plastic mallet is used to gently hammer the metal around the mandrel without scratching or damaging it.
4. Soldering Kit
Soldering is the process of joining pieces of metal together. For this, you'll need a soldering kit which includes a torch, solder, flux, and a soldering block. It's important to practice safety when soldering, as it involves high heat.
5. Pliers
A selection of pliers, including flat-nose, round-nose, and chain-nose pliers, is necessary for bending and shaping wire, as well as setting stones. They allow for precision and control when working with small pieces.
Choosing the Right Silver
When making silver rings, it's important to choose the right type of silver. Sterling silver, which is 92.5% pure silver mixed with other metals, is a popular choice for jewelry making. It’s durable and has a beautiful shine, making it ideal for rings.
Steps to Making a Sterling Silver Ring
Now that you have your tools ready, let's explore the basic steps to create your first sterling silver ring.
Step 1: Design Your Ring
Before you start cutting and shaping, sketch out your design. Consider the style, size, and any additional elements, such as gemstones, you want to incorporate. A detailed plan will guide your process and ensure a cohesive final product.
Step 2: Cut and Shape the Silver
Using your jeweler’s saw, cut the silver sheet into the desired shape. Once cut, use your files to smooth the edges and shape the piece. This is where your ring really starts to take form.
Step 3: Solder the Ring
After shaping, it's time to solder the ends of the silver strip together to form a complete ring. Apply flux to the joint, place a small piece of solder, and heat with your torch until the solder flows and joins the metal.
Step 4: Shape and Size the Ring
Once soldered, place the ring on the mandrel and use your mallet to gently round it and ensure it's the correct size. Check for any irregularities and use your files to make any necessary adjustments.
Step 5: Finishing Touches
Polish your ring to bring out the shine of the silver. You can use a polishing cloth or a tumbler for a high-gloss finish. If you’re adding stones, set them securely using your pliers and ensure they are evenly placed.
Tips for Success
- Practice Patience: Jewelry making is an art that requires patience. Take your time with each step to ensure precision and quality.
- Safety First: Always prioritize safety, especially when soldering. Wear safety glasses and work in a well-ventilated area.
- Learn Continuously: Keep learning and experimenting with different techniques and designs. Each project will improve your skills and boost your confidence.
Conclusion
Making your own rings is a fulfilling hobby that allows you to express your creativity and craftsmanship. By setting up your workshop with the essential tools and following the steps outlined in this guide, you’ll be on your way to creating beautiful, professional-quality silver rings. Remember, practice makes perfect, and each piece you create is a step toward mastering the art of jewelry making. Happy crafting!```