Step-by-Step Jewelry Making for Beginners
Share
Creating your own jewelry can be an incredibly rewarding and creative experience. Whether you're looking to start a new hobby, make personalized gifts for loved ones, or even launch a small business, jewelry making offers endless possibilities. This guide will walk you through the basics of jewelry making, providing easy-to-follow steps and tips for beginners.
Getting Started with Jewelry Making
Before diving into the world of jewelry design, it's important to gather the right tools and materials. Here's a quick list to get you started:
Essential Tools for Jewelry Making
- Pliers: You'll need round nose, flat nose, and chain nose pliers for bending and shaping wire.
- Wire Cutters: Essential for cutting different types of wire.
- Bead Mat: A soft surface to prevent beads from rolling away.
- Ruler or Measuring Tape: For precise measurements.
- Jeweler’s Saw: Useful for cutting metal sheets or wire.
Basic Materials
- Beads: Available in a wide variety of shapes, sizes, and materials like glass, wood, or gemstones.
- Wire: Different gauges are used for various types of jewelry.
- Findings: These include earring hooks, clasps, jump rings, and pins.
- Thread or Cord: Used for stringing beads and making necklaces or bracelets.
Simple Jewelry Projects for Beginners
Now that you have your tools and materials ready, let's explore some beginner-friendly projects.
Project 1: Beaded Bracelet
Materials Needed:
- Elastic cord
- Beads of your choice
- Scissors
- Glue (optional)
Steps:
- Measure Your Wrist: Wrap the elastic cord around your wrist to measure the length needed. Add an extra inch for tying knots.
- String the Beads: Begin stringing beads onto the cord in your desired pattern.
- Tie Off the Cord: Once all the beads are strung, tie a knot to secure them in place. A drop of glue on the knot can provide extra security.
- Trim the Excess Cord: Cut off any excess elastic cord, leaving a small tail.
Project 2: Wire-Wrapped Pendant
Materials Needed:
- Wire (20-gauge)
- A stone or bead
- Wire cutters
- Round nose pliers
Steps:
- Cut the Wire: Cut approximately 12 inches of wire.
- Wrap the Stone: Position the stone in the middle of the wire and wrap it several times to secure it.
- Create a Bail: Use pliers to form a loop at the top of the stone for the chain to pass through.
- Finish the Pendant: Trim any excess wire and ensure all ends are tucked in neatly.
Tips for Success in Jewelry Making
Understanding Different Materials
Learning about the properties of different materials like metals, beads, and wires will enhance the quality and durability of your jewelry. Experiment with various materials to find what works best for your designs.
Practicing Patience and Precision
Jewelry making requires patience and attention to detail. Take your time with each step, and don't rush the process. Precision in measurement and technique will lead to more professional-looking pieces.
Expanding Your Skills
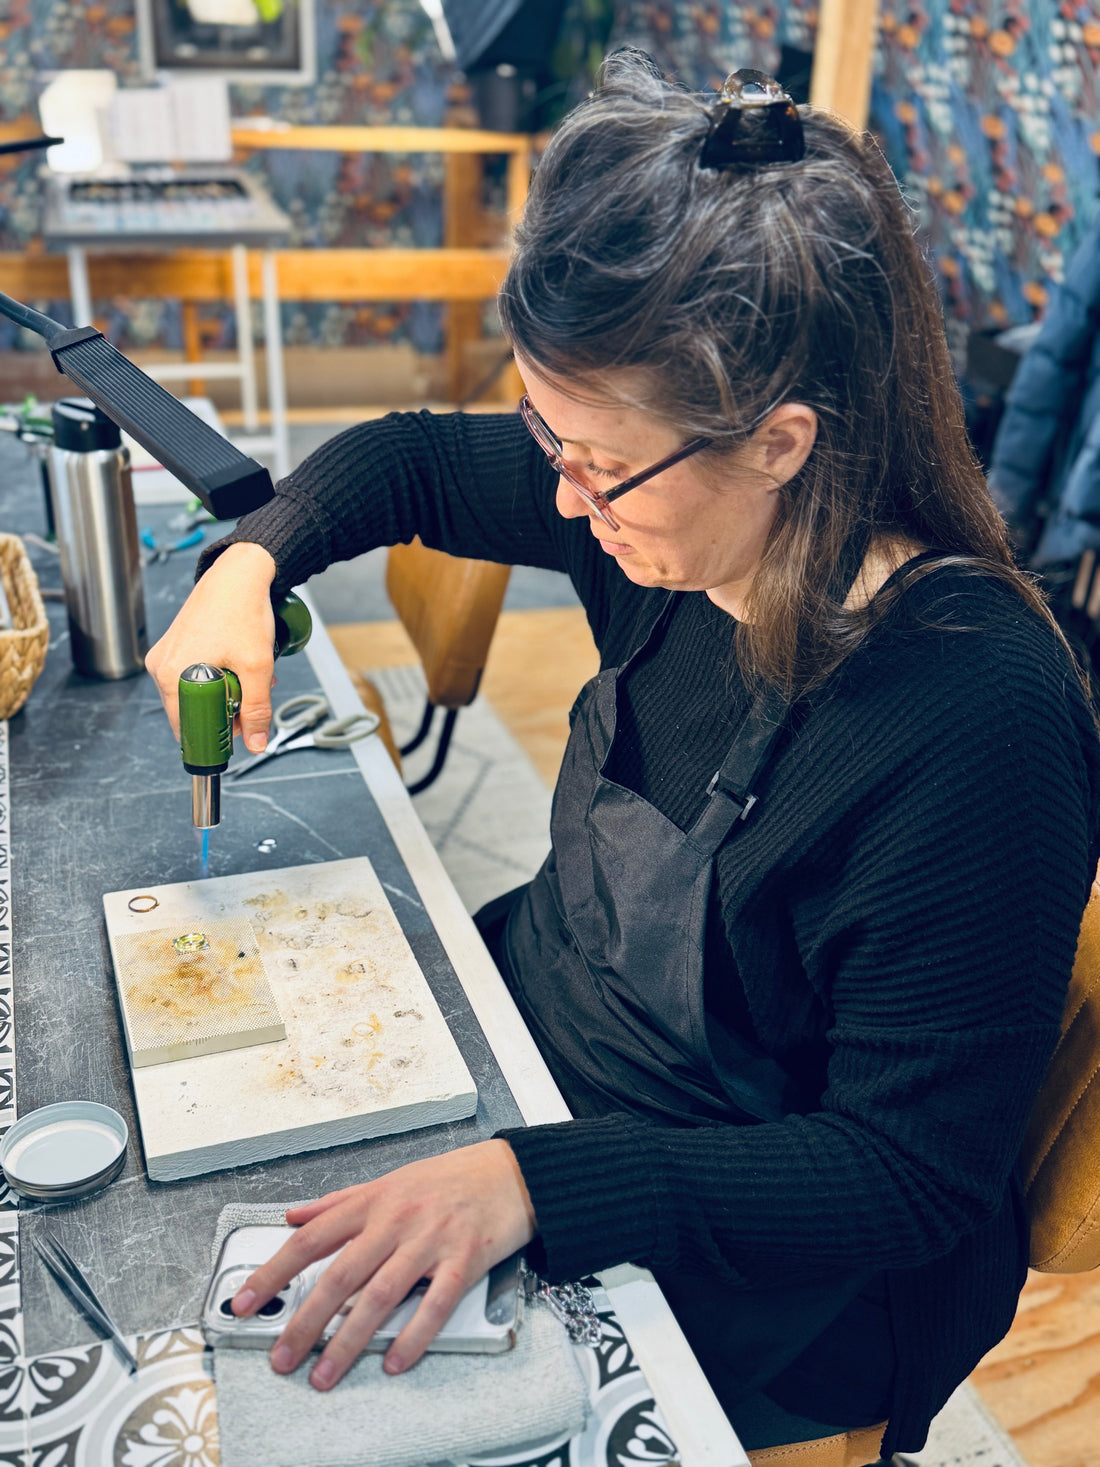
As you become more comfortable with basic projects, consider exploring more advanced techniques such as metalsmithing, soldering, or stone setting. Online tutorials and local workshops can be great resources for learning these skills.
Joining a Community
Connecting with other jewelry makers can provide inspiration, support, and opportunities for collaboration. Consider joining online forums, attending local craft fairs, or participating in jewelry-making groups.
Conclusion
Jewelry making is a fulfilling craft that allows for endless creativity and personalization. By starting with basic tools and materials, and gradually exploring more complex techniques, you can develop your skills and confidence in this art form. Remember, practice makes perfect, and the more you experiment and create, the more unique and beautiful your jewelry pieces will become. So gather your tools, unleash your creativity, and begin your journey in the captivating world of jewelry making today!```